Whether you’re a beginner tackling your first cutting board or a seasoned craftsman building custom furniture, one skill separates a good woodworker from a great one: knowing how to read wood grain. Understanding wood grain isn’t just about aesthetics—it’s essential for the structural integrity, workability, and overall success of your project. By learning to identify grain direction, figure, and potential defects, you’ll be better equipped to select the right boards and craft pieces that are both beautiful and built to last. Angelo Dellomo dives into the often-overlooked language of lumber and explore how to unlock the secrets hidden in every board.
What Is Wood Grain?
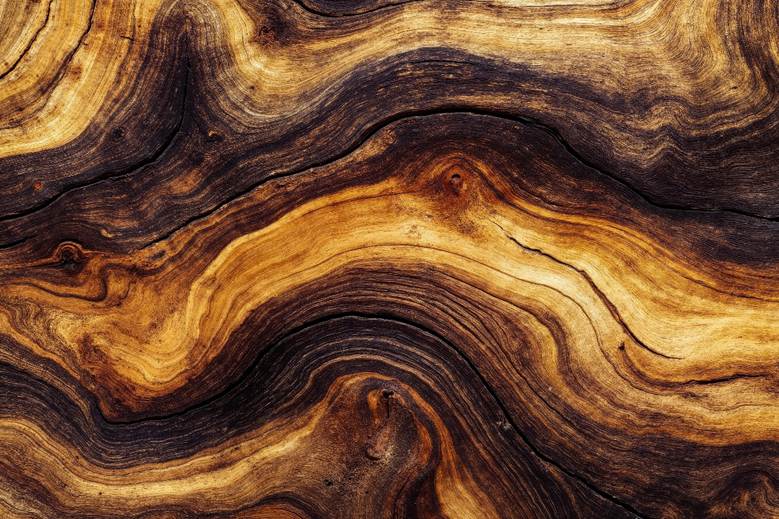
Wood grain refers to the direction, size, arrangement, and appearance of the fibers in a piece of wood. It’s the result of the tree’s growth rings and cellular structure. When a tree is sawn into lumber, the way it’s cut—plain-sawn, quarter-sawn, or rift-sawn—reveals different patterns and characteristics in the grain.
Grain affects nearly every aspect of a woodworking project: how wood behaves under tools, how it responds to glue and finishes, and how strong or stable it is in certain applications.
1. Understanding Grain Direction
Why it matters:
Grain direction is critical for cutting, planing, sanding, and assembling. Going against the grain can result in tear-out, splintering, and rough surfaces. With the grain, everything becomes smoother—literally and figuratively.
How to read it:
Start by looking at the side of the board. If the lines slope upward from left to right, you’re looking at what’s often called “rising grain.” If they slope downward, it’s “descending grain.” This matters when you’re planing or chiseling—always work with the direction the grain slopes upward.
Check end grain too:
The end grain can give clues about how the internal fibers run. Curving rings indicate how the grain might twist or slope through the board. When choosing lumber, especially for joinery or pieces under stress, a straight, even grain is often more desirable than one with dramatic curves.
2. Decoding Grain Figure
Grain figure is the visible pattern of the wood grain on the board’s surface. It’s largely aesthetic, but in fine woodworking and furniture making, figure can be the crown jewel of a project.
Here are some common types of figure:
- Straight Grain: The fibers run in a linear, consistent pattern. It’s strong and easy to work with, ideal for table legs, rails, and any structural elements.
- Curly or Flame: These wavy, undulating lines are caused by irregular growth patterns and are popular for decorative panels and musical instruments.
- Quilted or Blistered: Three-dimensional, bubbly effects often found in maple or mahogany. It’s stunning, but can be tricky to finish.
- Birdseye: Small, swirling eyes in the grain, common in maple. Highly prized for specialty projects.
- Crotch or Burl: Swirling, chaotic patterns formed where limbs meet or where the tree has grown a knot. Extremely beautiful, but often brittle and unstable.
When using figured wood, consider where you want the eye to go. These pieces often shine best in focal areas—drawer fronts, inlays, tabletops—where the grain can be appreciated like artwork.
3. Identifying and Evaluating Defects
No piece of wood is perfect, but not all defects are deal-breakers. Some add character; others compromise structural integrity. Learning the difference is key.
Common defects include:
- Knots: Circular or oval spots where a branch was. Tight knots may be stable, but loose ones can fall out or weaken the wood. Use with caution, especially in load-bearing parts.
- Checks and Splits: These are cracks that occur as wood dries. Checks run along the grain; splits go all the way through. Minor checks may be manageable, but deep splits often disqualify a board.
- Wane: This is bark or missing wood on the edge of a board. Often found on live-edge lumber. While not necessarily a flaw in artistic projects, it can interfere with structural work.
- Warping: This includes cupping (edge-to-edge curve), bowing (lengthwise curve), twisting, and crooking. Mild warp can sometimes be corrected, but severe deformation limits usability.
- Sapwood vs. Heartwood: Sapwood (lighter outer rings) is often softer and less durable than heartwood (darker inner core). In some species, sapwood is more prone to staining and decay.
4. Selecting the Right Board for Your Project
Once you understand how to read grain and identify defects, the next step is choosing the best board for your specific need.
For structural pieces:
Look for straight-grained boards with minimal knots and uniform grain direction. Stability and strength are the priorities.
For decorative work:
Prioritize figure and visual appeal. Curly maple, burl walnut, and other figured woods can be showstoppers, especially for drawer faces, panels, and veneers.
For outdoor use:
Go for boards with high heartwood content in species known for durability—cedar, white oak, teak, or ipe. Watch out for sapwood and defects that can let in moisture.
For carving or turning:
Choose woods with consistent grain and minimal defects. Basswood and cherry are popular for carving; maple and walnut for turning.
5. Practical Tips for Woodworkers
- Bring a block plane to the lumberyard: Lightly plane a corner to see the true grain direction and figure.
- Use good lighting: Grain and figure show up better under natural light or from raking light at an angle.
- Buy extra: Especially if you’re working with figured wood, buy more than you need. Some boards may look better in person than they did at the store—or vice versa.
- Trust your fingers: Sometimes grain direction is easier to feel than see. Run your hand along the board; it’ll feel smoother one way than the other.
Reading wood grain is both a science and an art. By learning to analyze grain direction, appreciate figure, and spot defects, you’re not just selecting lumber—you’re laying the foundation for craftsmanship. The more you practice, the more fluent you’ll become in this natural language. So next time you’re in the lumber aisle or standing before a stack of boards in your shop, take a moment to observe. The wood is telling a story—are you ready to listen?