Achieving a professional finish on woodworking projects requires more than just selecting the right materials and assembling pieces with precision. The sanding and finishing process plays a crucial role in bringing out the natural beauty of the wood, ensuring durability, and delivering a smooth, flawless surface. Angelo Dellomo emphasizes that whether you’re a seasoned woodworker or an enthusiastic DIYer, understanding advanced sanding and finishing techniques can significantly elevate the quality of your work.
The Importance of Sanding in Woodworking
Sanding is more than just a preparatory step—it’s the foundation of a perfect finish. Poor sanding can lead to an uneven surface, scratches, or a finish that doesn’t adhere properly. Proper sanding removes imperfections, evens out the grain, and allows finishes to penetrate uniformly.
Choosing the Right Sandpaper
Selecting the right grit of sandpaper is essential to achieving a smooth surface. Sandpaper grit is categorized by numbers—the lower the number, the coarser the grit.
- Coarse Grit (40-80): Used for heavy material removal, shaping edges, and evening out rough surfaces.
- Medium Grit (100-150): Ideal for refining the surface after coarse sanding and preparing it for finishing.
- Fine Grit (180-220): Used for final sanding before applying finishes to ensure a smooth surface.
- Extra Fine Grit (320-400+): Typically used for sanding between finish coats to refine and perfect the final look.
Sanding Techniques for a Flawless Finish
To achieve the best results, it’s important to use proper sanding techniques.
- Sanding With the Grain – Always sand in the direction of the wood grain to prevent scratches that can become visible after finishing.
- Progressive Sanding – Start with a coarser grit and gradually move to finer grits to refine the surface. Skipping grits can leave unwanted scratches.
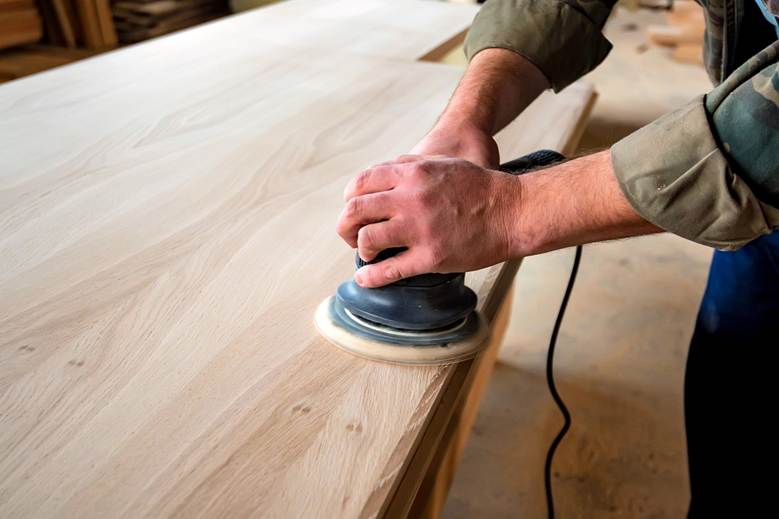
- Hand Sanding vs. Power Sanding – While power sanders speed up the process, hand sanding with a sanding block ensures better control and a more refined finish, especially on edges and intricate details.
- Removing Sanding Dust – Before applying a finish, thoroughly remove dust using a vacuum, tack cloth, or damp rag to prevent imperfections.
Finishing Techniques for a Professional Look
Once the wood is properly sanded, the next step is applying a finish that enhances its beauty and provides long-lasting protection. There are several types of finishes, each offering distinct advantages depending on the project’s requirements.
Types of Wood Finishes
- Oil-Based Finishes: These penetrate deep into the wood, enhancing grain patterns and providing a rich, natural look. Common options include tung oil, linseed oil, and Danish oil.
- Water-Based Finishes: These dry quickly, offer a clear finish, and are less prone to yellowing over time. They’re an excellent choice for light-colored woods.
- Shellac: A natural finish that adds warmth and depth but is less durable than other options.
- Lacquer: Provides a high-gloss finish and is fast-drying, making it popular for fine furniture.
- Polyurethane: Offers excellent durability and comes in various sheens (matte, satin, semi-gloss, and gloss). It’s available in both oil- and water-based versions.
Application Methods for a Smooth Finish
- Brushing: Use high-quality brushes designed for the specific type of finish. Avoid overloading the brush to prevent drips and streaks.
- Wiping: Wipe-on finishes (such as Danish oil or wipe-on polyurethane) allow for easy application and control, minimizing brush marks.
- Spraying: Ideal for large surfaces and professional applications, spraying provides a uniform coat but requires proper ventilation and skill.
- Rubbing Out the Finish: After the final coat has cured, using fine abrasives like steel wool or polishing compounds can create a satin or glossy finish for a professional touch.
Sanding Between Coats
For the smoothest finish, lightly sand between coats using fine-grit sandpaper (320-400 grit) or synthetic pads. This helps remove dust nibs and promotes better adhesion of subsequent layers. Always clean off sanding dust before applying another coat.
Buffing and Polishing for a Professional Sheen
For an ultra-smooth, glass-like finish, buffing and polishing are essential steps.
- Wet Sanding: Using ultra-fine sandpaper (600-1500 grit) with water or mineral spirits creates an incredibly smooth surface.
- Rubbing Compound: Applying a rubbing compound with a soft cloth or buffer polishes the finish to a high sheen.
- Waxing: A final coat of paste wax adds protection and a soft luster, enhancing the depth of the finish.
Troubleshooting Common Finishing Problems
Even experienced woodworkers encounter finishing issues. Here’s how to fix common problems:
- Streaks or Brush Marks: Use high-quality brushes and apply thin, even coats. Sand lightly between layers to smooth imperfections.
- Bubbles: Bubbles in the finish can result from shaking the container. Always stir finishes gently and apply with smooth, controlled strokes.
- Dust in Finish: Ensure a clean workspace and wipe surfaces thoroughly before finishing. If dust settles on the finish, sand it out and reapply a light coat.
- Blotchy Stain Absorption: Some woods (like pine) absorb stains unevenly. Using a wood conditioner before staining helps achieve a uniform look.
Mastering advanced sanding and finishing techniques requires patience, practice, and attention to detail. By choosing the right sandpaper, following proper sanding procedures, selecting the appropriate finish, and applying it with precision, you can achieve professional-quality results. Whether you’re working on furniture, cabinetry, or decorative wood pieces, these techniques will ensure your projects stand out with a refined, polished look that lasts.